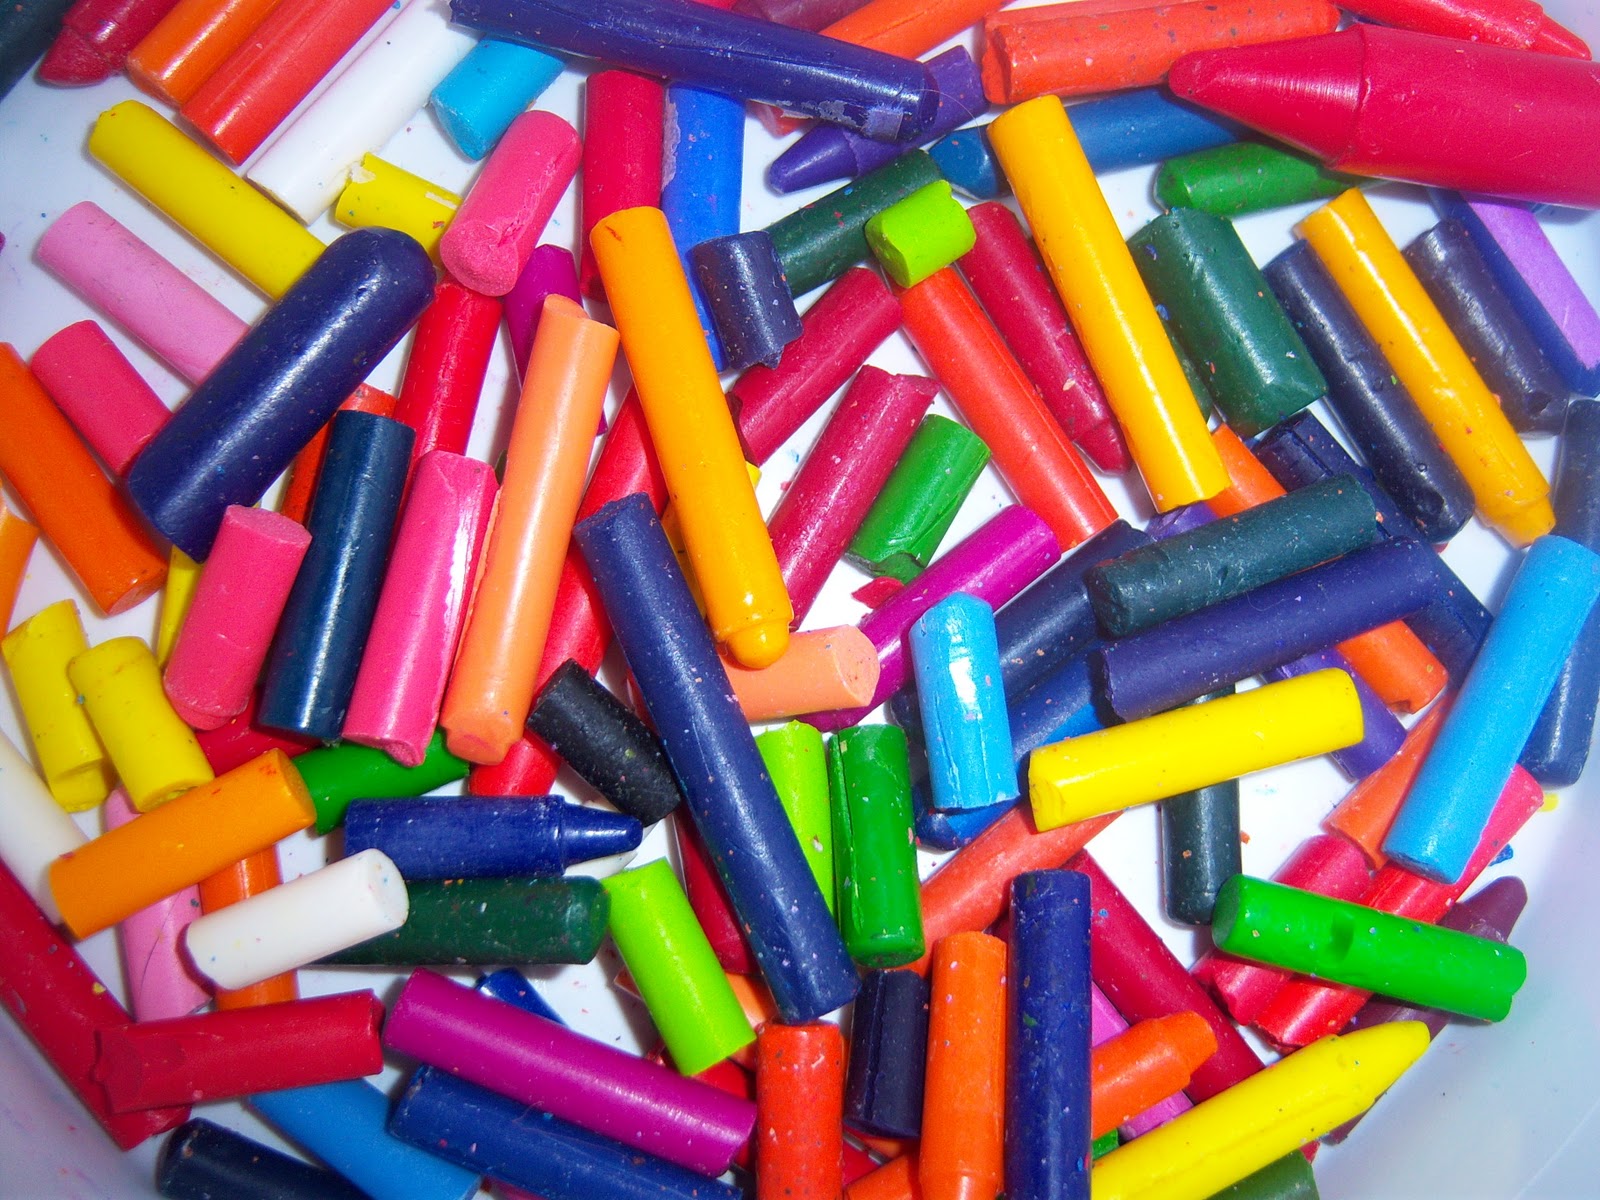
What would you do with an ice cream bucket FULL of broken crayons?
Here’s what I did:
-
Sort by size & color.
I set aside any crayons longer than about 2 inches for little hands to color with. The shorter pieces went back in the bucket — ready to be melted down into new, exciting shapes. -
Choose a fun mold.
A few years ago, I made butterflies, eggs, and spring shapes with my playgroup friends around Easter. This time, it was just me and my little guy, so we pulled out a dinosaur cake pan! 🦖 -
Break & bake.
Break your crayons into small pieces (this helps them melt faster). Place them in your mold, and put the mold on a cookie sheet for stability.-
Set your oven to its lowest setting (mine was 170°F).
-
Bake for about 15–20 minutes, checking often.
-
Larger molds may take longer — my dinosaur took closer to 50 minutes since I didn’t break my crayons small enough.
-
-
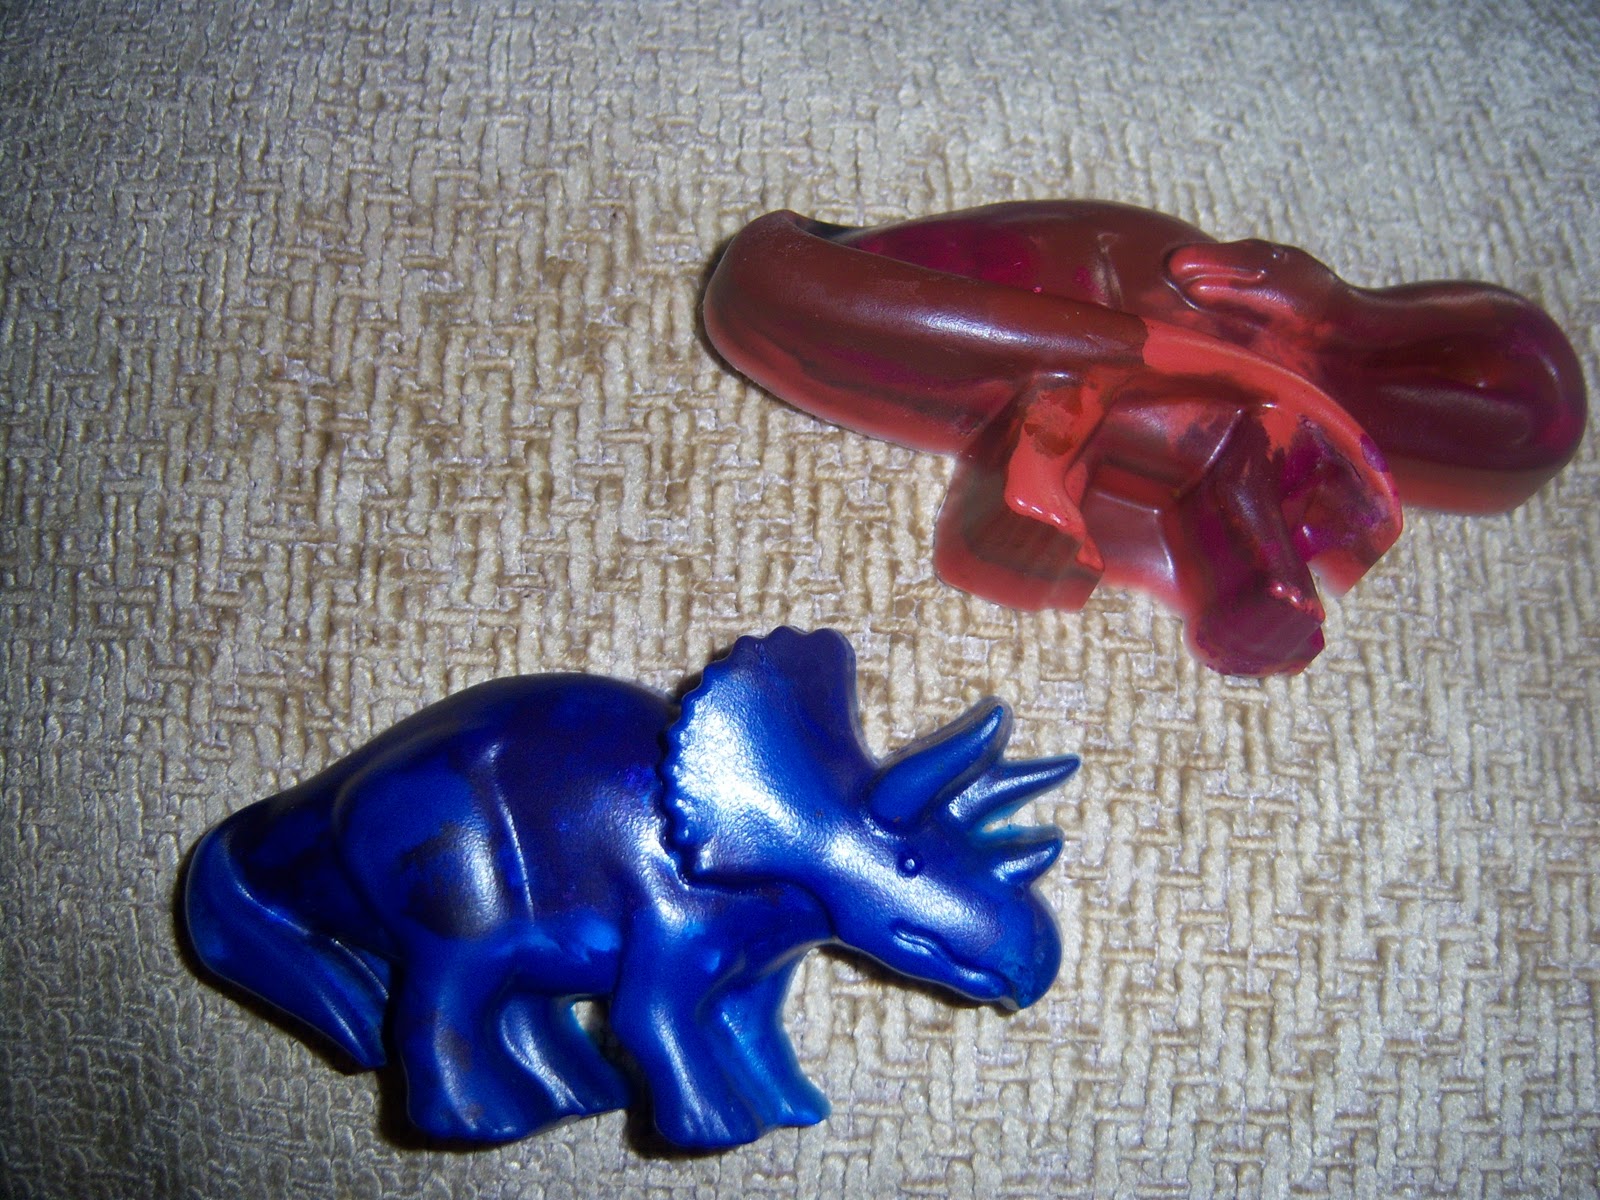
Cool & pop out.
Let them cool completely before removing. The fronts came out perfectly smooth, and the backs had fun “bone-like” textures where some crayons hadn’t fully blended. Honestly, it just added character. -
Play & enjoy!
The finished dinos became instant “toys” and kept my little one busy while big sister was at school. Success!
This project is inexpensive, creative, and gives broken crayons new life. Plus, it’s a sweet way to spend time together on a quiet afternoon.

What did you use to make the shapes? Did you melt the crayons and then pour them into molds?
We used this pan:
http://www.amazon.com/Nordic-Ware-Cast-Dinosaur-Cakelette/dp/B001TI7SAC/ref=sr_1_2?ie=UTF8&qid=1329328019&sr=8-2
That I picked up at a second hand store for a few dollars.
It really didn't make that great of muffins, so it was perfect for this.
I broke apart the crayons into small peices & put them into the mold. You can also melt the crayons first in a can inside a pot of boiling water then pour into molds. Just don't use plastic molds of course, it will melt.